Installing Nextcloud
Nextcloud allows to create back-up copies of folders and to sync files and folders in a convenient and nearly instant way. It also allows to instantly access files stored in the AGH Cloud without having to log in through the browser.
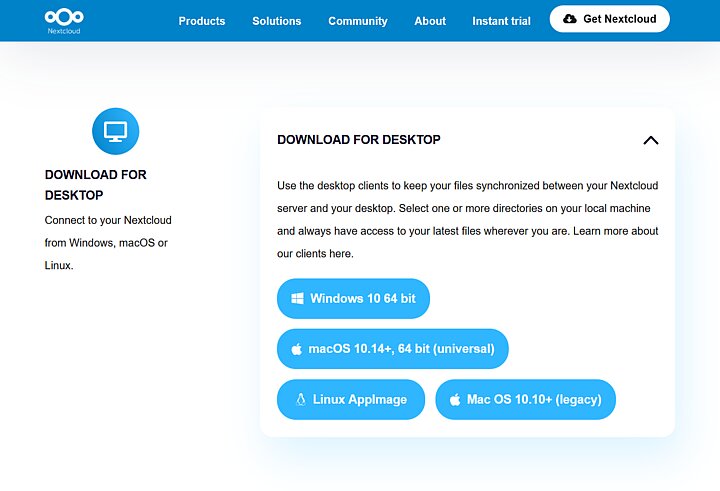
- Download the Nextcloud app at nextcloud.com/install/, expanding the "Download for desktop" menu and selecting the proper button depending on your operating system.
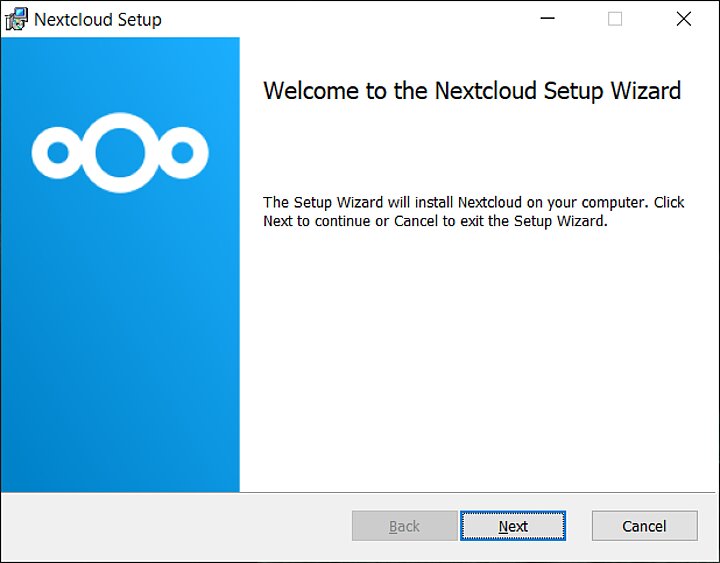
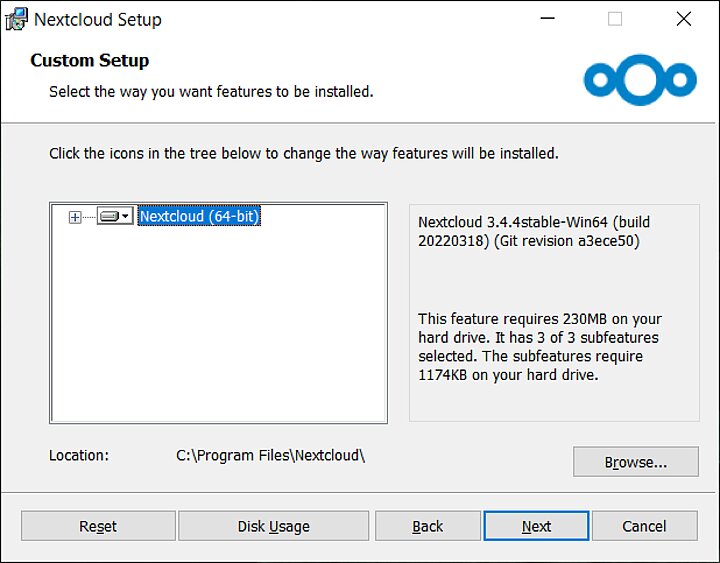
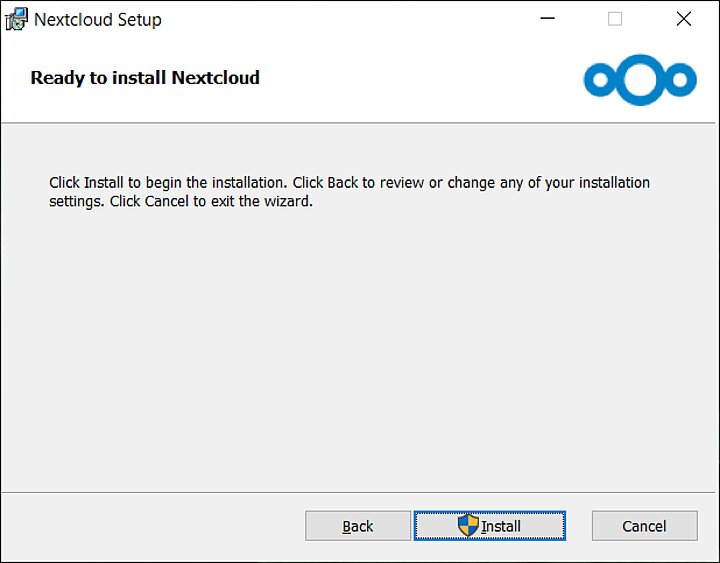
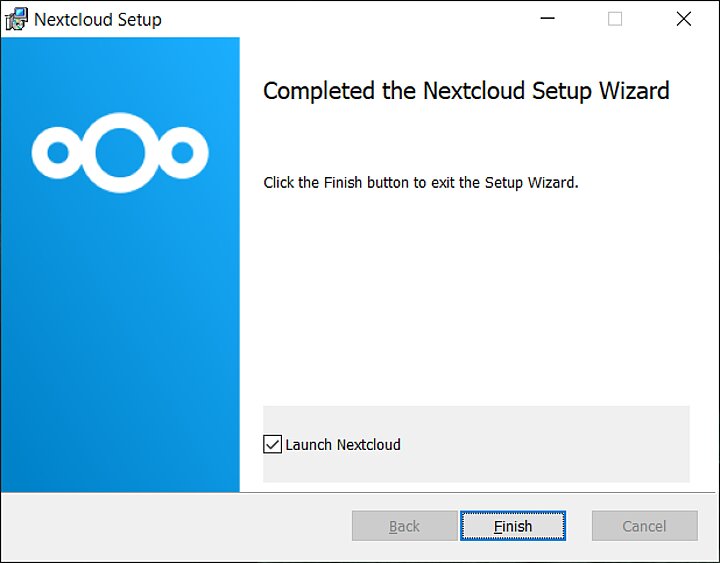
- After a successful installation you may close the installer window by pressing the "Finish" button. Nextcloud will launch automatically.
Nextcloud configuration
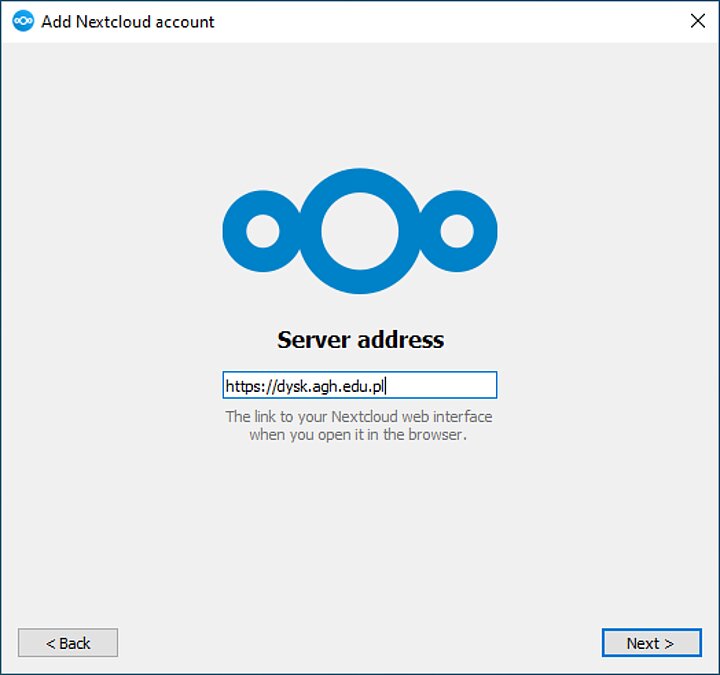
After installing the Nextcloud application, you need to log in to it and set up the synchronisation folder, allowing you to access your AGH Cloud files directly from your computer.
-
Launch Nextcloud. If it is already running, you can find it in the tray in the bottom right corner of the screen, next to the clock.
-
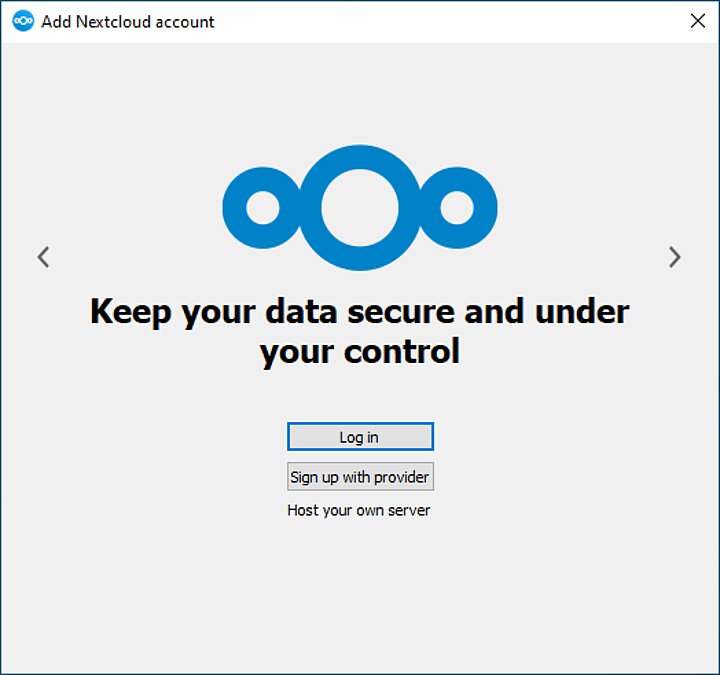
Select "Log in".
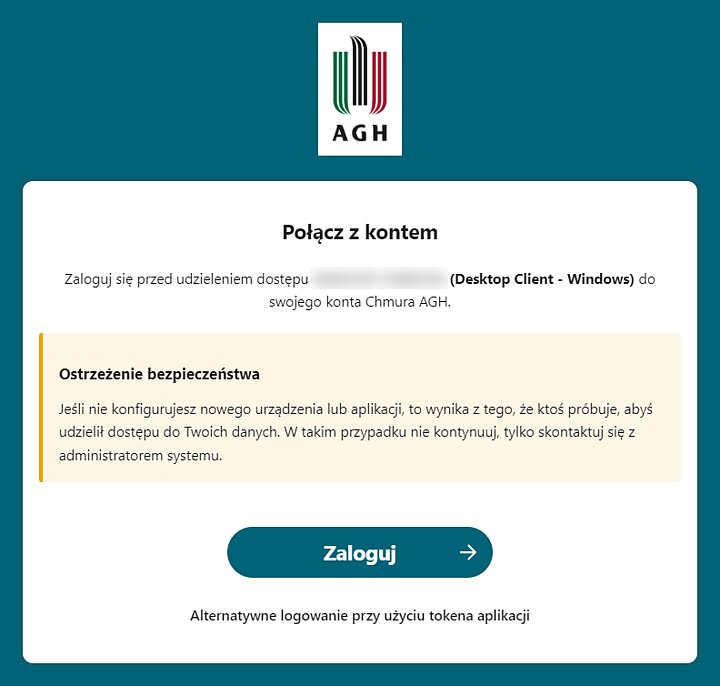
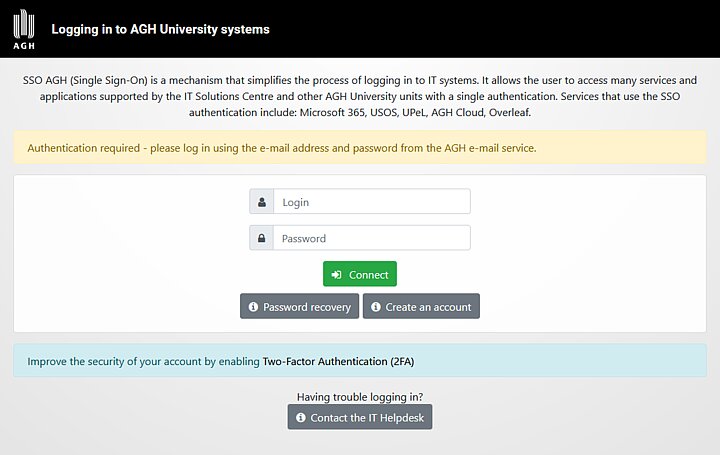
- A web browser tab will open, showing a message about an attempt to connect an AGH Cloud account with the Nextcloud app. Press "Zaloguj" ("Log in").
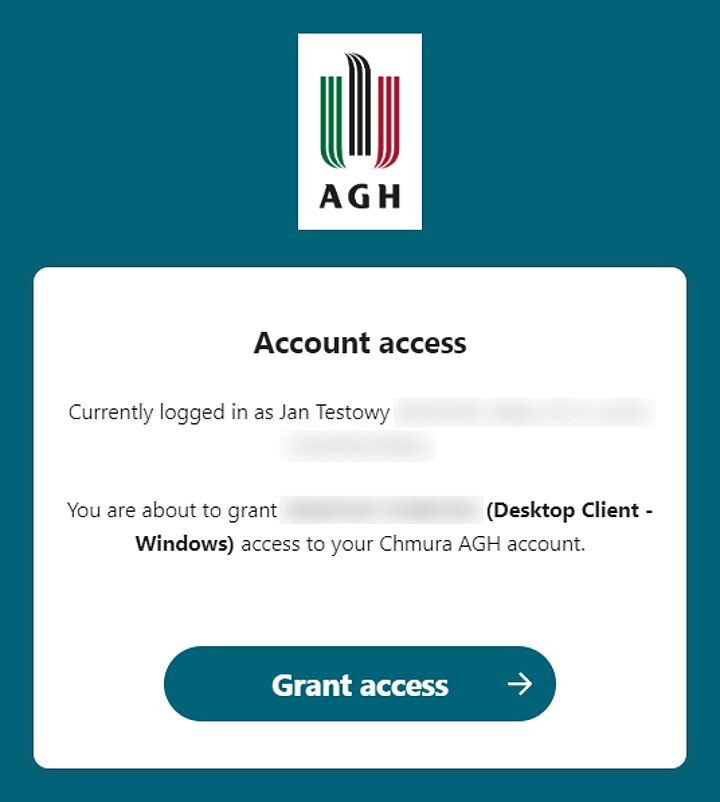
- You will be asked to grant access to your account to the Nextcloud app. Make sure that it is your full name in the "Currently logged in as..." verse. If the displayed data is correct, press "Grant access".
- After a successful authorisation, you can close the browser and go back to Nextcloud, where you can finish setting up the application.
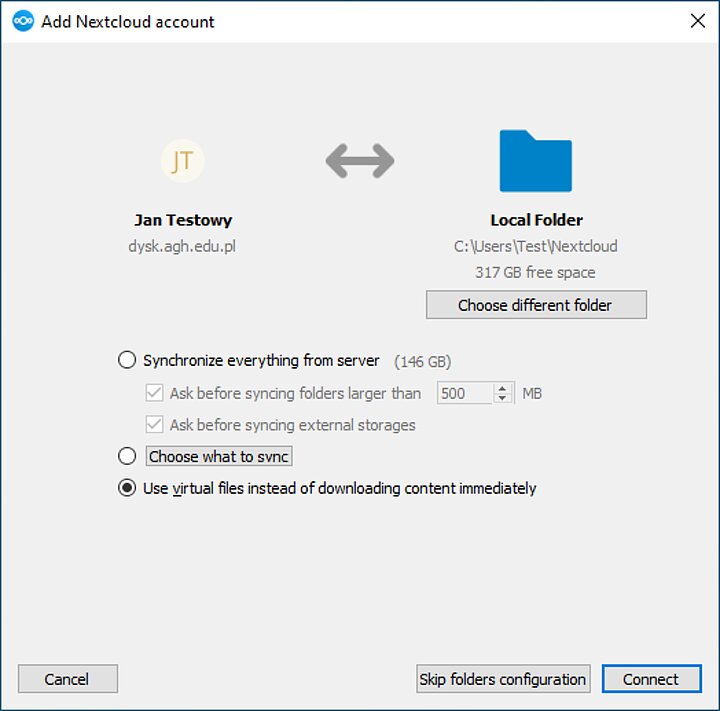
The app will suggest a default location for the new synchronisation folder. If you wish to change it, press "Choose different folder" and select a different location.
The synchronisation folder can also be adjusted to your preferences:
- "Synchronise everything from server" - all the files from your AGH Cloud will be automatically synced and downloaded to your device.
- "Choose what to sync" - allows you to choose files/folders which will be synced.
- "Use virtual files instead of downloading content immediately" - files will be downloaded only when you want to use them.
- After choosing the synchronisation folder and type, press "Connect".
